Photoshop Plugin

Download the VectoUI Photoshop Plugin

Connect VectoUI in Photoshop, choose a project path, and upload the current PSD design to your VectoUI space.
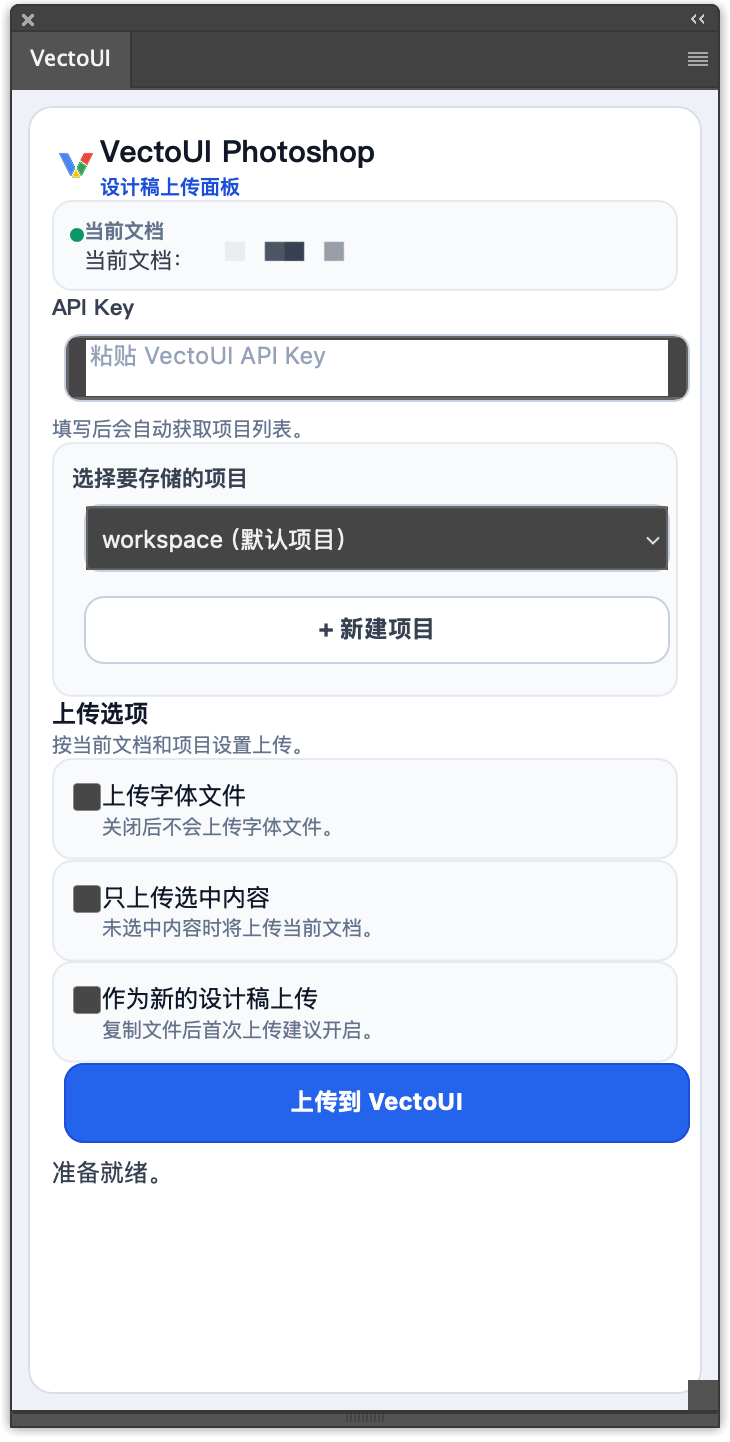
VectoUI Photoshop plugin panel
VectoUI Photoshop

Plugin Information

Current version and installation requirements for the Photoshop plugin.

Recommended
UXP 0.2.7 (Photoshop 23.3+)
Compatibility
CEP 0.2.7 (CEP environment)
Supported OS
macOS / Windows
Before you start
VectoUI API Key

Download Links

Use the UXP plugin first. If your Photoshop environment still uses CEP, download the CEP package.

Recommended

VectoUI Photoshop UXP

The UXP plugin for Photoshop 23.3+, with macOS and Windows support.

Version0.2.7
Filevectoui-photoshop-uxp-v0.2.7-ps23.3-macos-windows.zip
Size400 KB
SHA256

4ab645315bafdc7ab030e8ba015347ebb75a1a989e24a3577e0958fe27b339ca

Download Plugin
Compatibility

VectoUI Photoshop CEP

The CEP plugin for Photoshop environments that still depend on CEP, with macOS and Windows support.

Version0.2.7
Filevectoui-photoshop-cep-v0.2.7-macos-windows.zip
Size45 KB
SHA256

c910e8fb8ee57ba25901bc2dc0496eb39cf8e3e0dbb1b1ec43931efece3ace5d

Download Plugin

Installation Guide

Choose UXP or CEP based on your Photoshop environment, then follow the matching OS steps.

macOS / Windows

Install UXP

Photoshop 23.3+

  1. 1Unzip the UXP package.
  2. 2Install and open Adobe UXP Developer Tool.
  3. 3Click Add Plugin and select the unzipped dist folder.
  4. 4Click Load, then open VectoUI from the Plugins menu in Photoshop.
macOS

Install CEP on macOS

Photoshop with CEP extension support

  1. 1Quit Photoshop and unzip the CEP package.
  2. 2Copy the VectoUIPhotoshopCEP folder to ~/Library/Application Support/Adobe/CEP/extensions.
  3. 3If the panel does not appear, enable PlayerDebugMode for the CSXS version used by your Photoshop version.
  4. 4Restart Photoshop and open VectoUI Photoshop from Window -> Extensions.
Windows

Install CEP on Windows

Photoshop with CEP extension support

  1. 1Quit Photoshop and unzip the CEP package.
  2. 2Copy the VectoUIPhotoshopCEP folder to %APPDATA%\Adobe\CEP\extensions.
  3. 3If the panel does not appear, set PlayerDebugMode=1 in the CSXS registry key used by your Photoshop version.
  4. 4Restart Photoshop and open VectoUI Photoshop from Window -> Extensions.

Workflow

The main steps after installing the plugin.

1

Open a design

Open the PSD file you want to upload in Photoshop.

2

Enter API Key

Paste your VectoUI API Key in the plugin panel. The plugin will load your available project paths.

3

Choose a project path

Use workspace by default, or create a new top-level project path in the plugin.

4

Upload the design

Start the upload from the plugin panel to upload the current PSD design to VectoUI.

Screenshots

These screenshots show the main Photoshop UXP plugin interface states.

VectoUI Photoshop plugin upload panel

Upload panel

Users only need to configure the API Key, choose a project path, and start the upload.
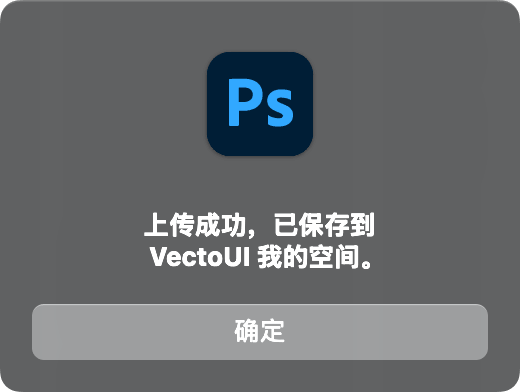
VectoUI Photoshop plugin upload success dialog

Upload success

When upload completes, the plugin shows a success message.

Related Documentation

After downloading the plugin, use the guide to complete installation and upload.

Start uploading Photoshop designs

Install the plugin, get your VectoUI API Key, and upload PSD designs to your VectoUI space.