Photoshop Plugin Upload Guide
Install the VectoUI Photoshop UXP or CEP plugin, enter your API Key, choose a project path, and upload PSD designs to My Space.
Photoshop Plugin Upload Guide
The VectoUI Photoshop plugin uploads PSD designs to My Space in VectoUI. After upload, you can view and manage the design in My Space, and use it in target platforms that support VectoUI.
Choose a Plugin Version
Use the UXP version first. It supports Photoshop 23.3+ on macOS and Windows:
Download Photoshop UXP Plugin 0.2.7
If your Photoshop environment still needs CEP extensions, download the CEP version:
Download Photoshop CEP Plugin 0.2.7
Install the UXP Plugin
- Unzip the UXP plugin package.
- Install and open Adobe UXP Developer Tool.
- Click Add Plugin and choose the unzipped dist folder.
- Click Load.
- Open Photoshop and launch VectoUI from the Plugins menu.
Install the CEP Plugin
- Close Photoshop.
- Unzip the CEP plugin package.
- Copy the entire VectoUIPhotoshopCEP folder to the CEP extensions directory.
Common macOS path:
~/Library/Application Support/Adobe/CEP/extensions
Common Windows path:
%APPDATA%\Adobe\CEP\extensions
- Reopen Photoshop.
- Open the panel from Window -> Extensions -> VectoUI Photoshop.
If the panel does not appear, enable PlayerDebugMode for the CSXS version used by your Photoshop, then restart Photoshop.
Open the Upload Panel
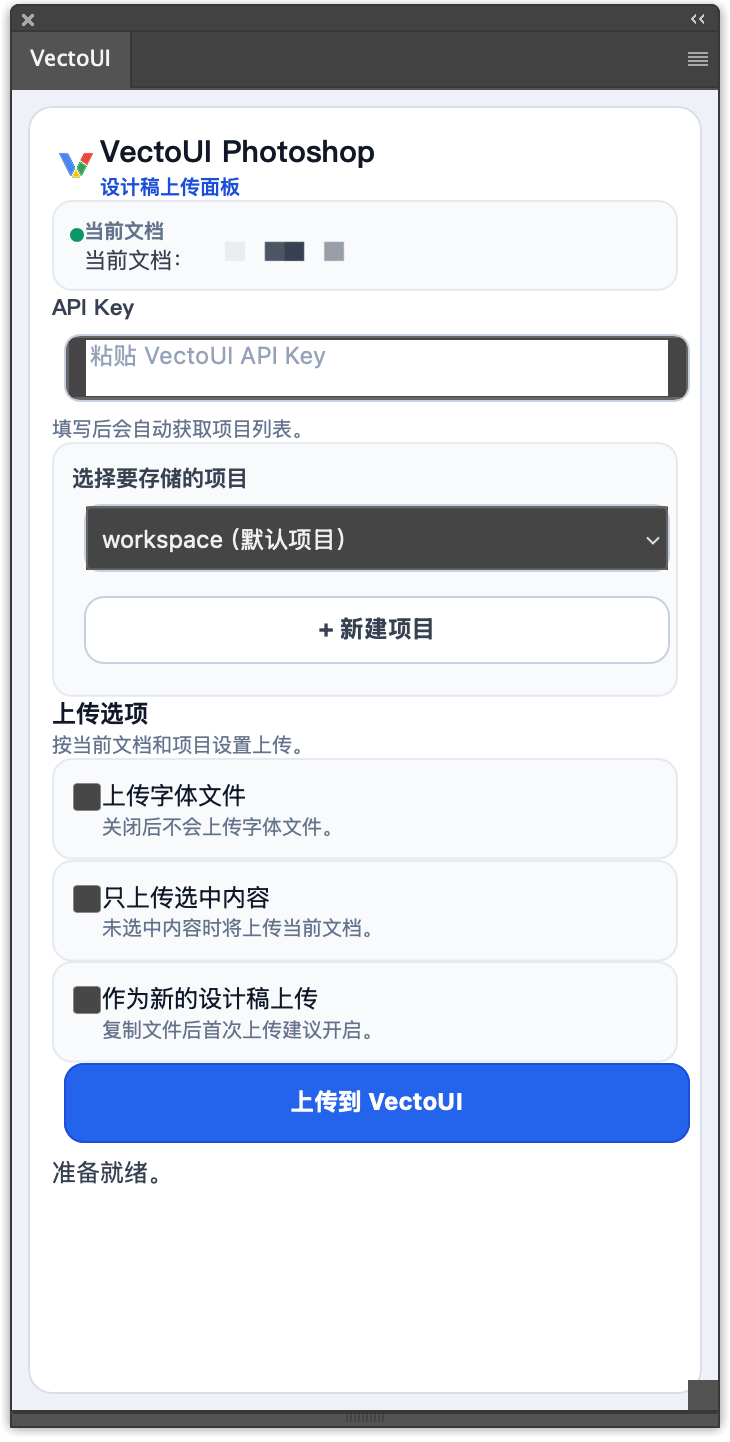
Open the PSD file you want to upload in Photoshop. We recommend saving the current file first. Then open the VectoUI Photoshop panel.
Configure API Key
Enter your VectoUI API Key in the panel. After the key is entered, the plugin loads your available project paths automatically.
If no project path has been created, workspace is used by default. You can also create a new top-level project path from the panel. A newly created path is selected automatically.
Upload Options
- Upload font files: Off by default. Enable it only when the design needs to include font files.
- Upload selected content only: Off by default. Enable it to upload only the currently selected layers, such as a dialog, button group, or partial component. If you are not sure, keep it off.
- Upload as a new design: Off by default. If you copied a PSD file and want it to appear as a separate design in My Space, enable this option.
Upload
After confirming the API Key, project path, and upload options, click upload. During upload, the plugin only shows progress and status.
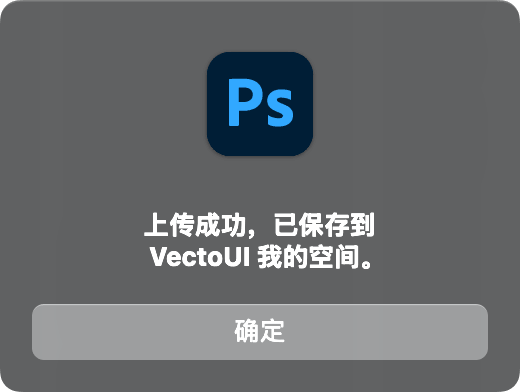
A success dialog appears when upload finishes.
Where to View the Design
After upload, open My Space to view the design. My Space only shows management information such as preview image, name, size, update time, and project path.
FAQ
Should I Use UXP or CEP?
Use UXP first. CEP is mainly for Photoshop environments that still need CEP extensions.
Does the Plugin Depend on Python or Another External Runtime?
No. The current Photoshop plugin is a standalone plugin package and does not require users to install Python.
Can I Install It on Both Windows and macOS?
Yes. Both UXP and CEP packages support macOS and Windows, but the installation path and launch method are different.
What Should I Do if Upload Fails?
Check whether the API Key is correct, account storage is sufficient, and network access is available. If the remaining storage is insufficient, delete designs you no longer need in My Space and try again.