Comparison source
Public homepage before/after section
The workflow and time contrast on this page is directly reused from the already-public compare section.
Before and After · Manual UI Delivery vs VectoUI
The homepage already shows a before/after comparison, but a standalone proof page is better for explaining what actually changes, what becomes faster, and what still remains explicit engineering work.
Proof Summary
Case Definition
Comparison source
The workflow and time contrast on this page is directly reused from the already-public compare section.
Current scope
The proof is intentionally anchored to the current public Unity path rather than generalized to every future engine.
Evidence supplements
The before/after structure is stronger when it is paired with visual setup evidence and already-public user language.
Before VectoUI
With VectoUI
What this page can prove clearly
Workflow time range
This is copied from the public compare section and should remain framed as a workflow-level signal, not a universal ROI promise.
Communication path
Public testimonials repeatedly point to lower coordination cost, so the meaningful change is the workflow position, not one isolated KPI.
Asset and node handling
Both the compare section and the public docs screenshots support this change directly.
What still remains manual
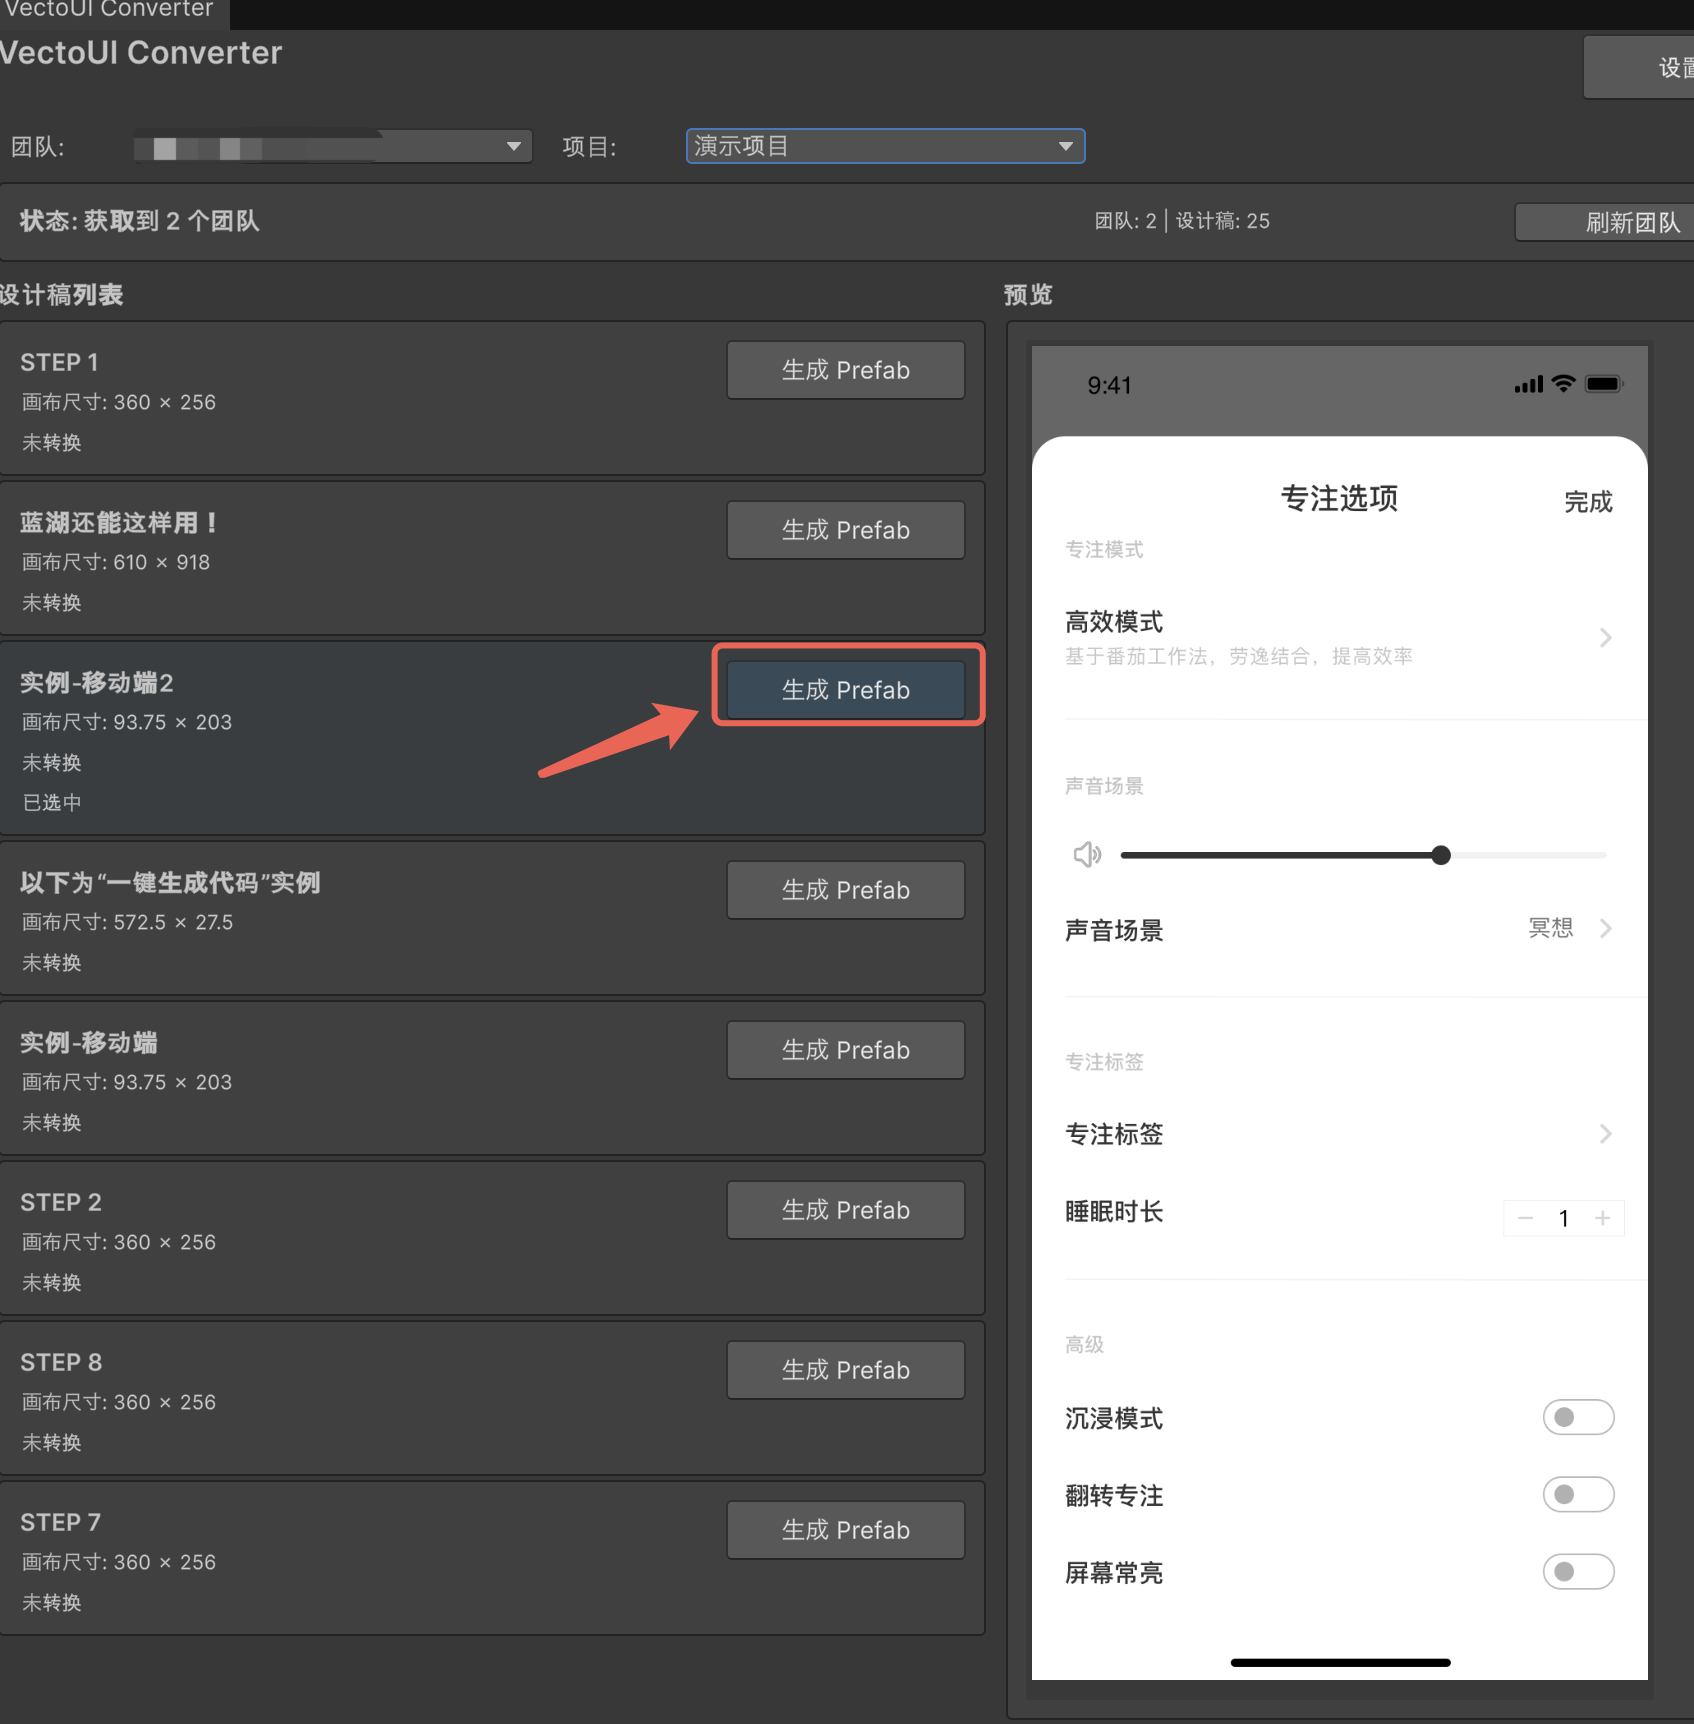
Public screenshot evidence
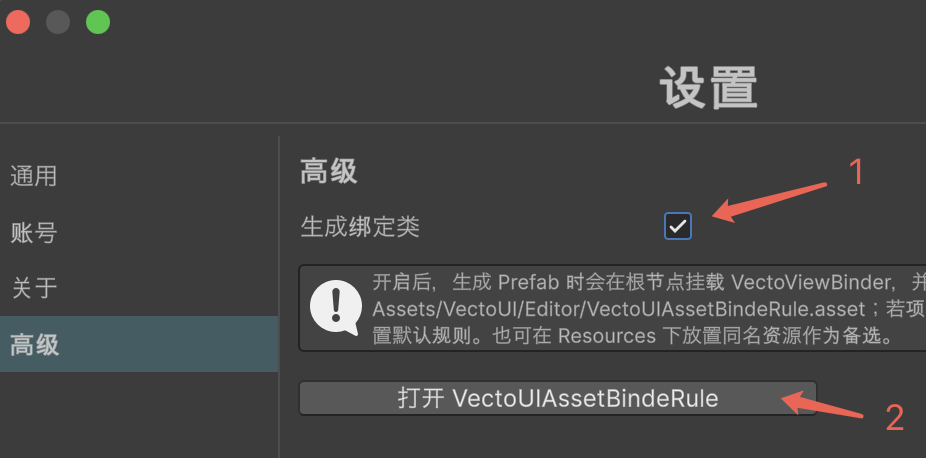
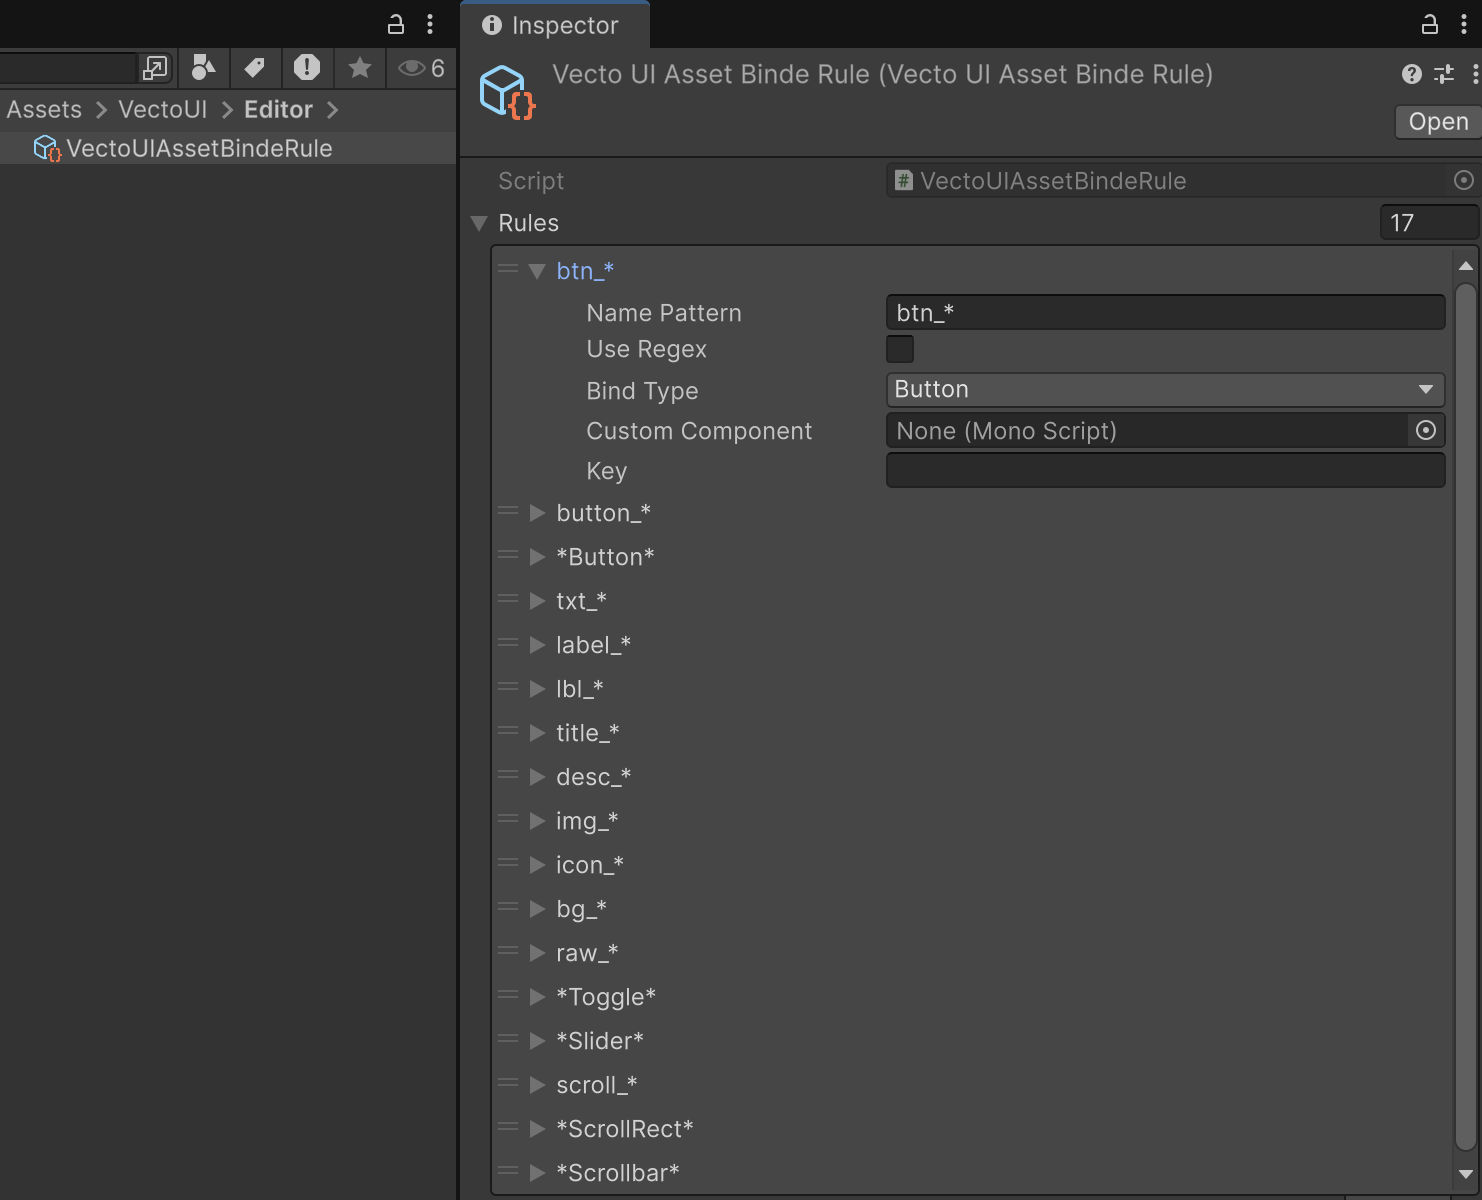
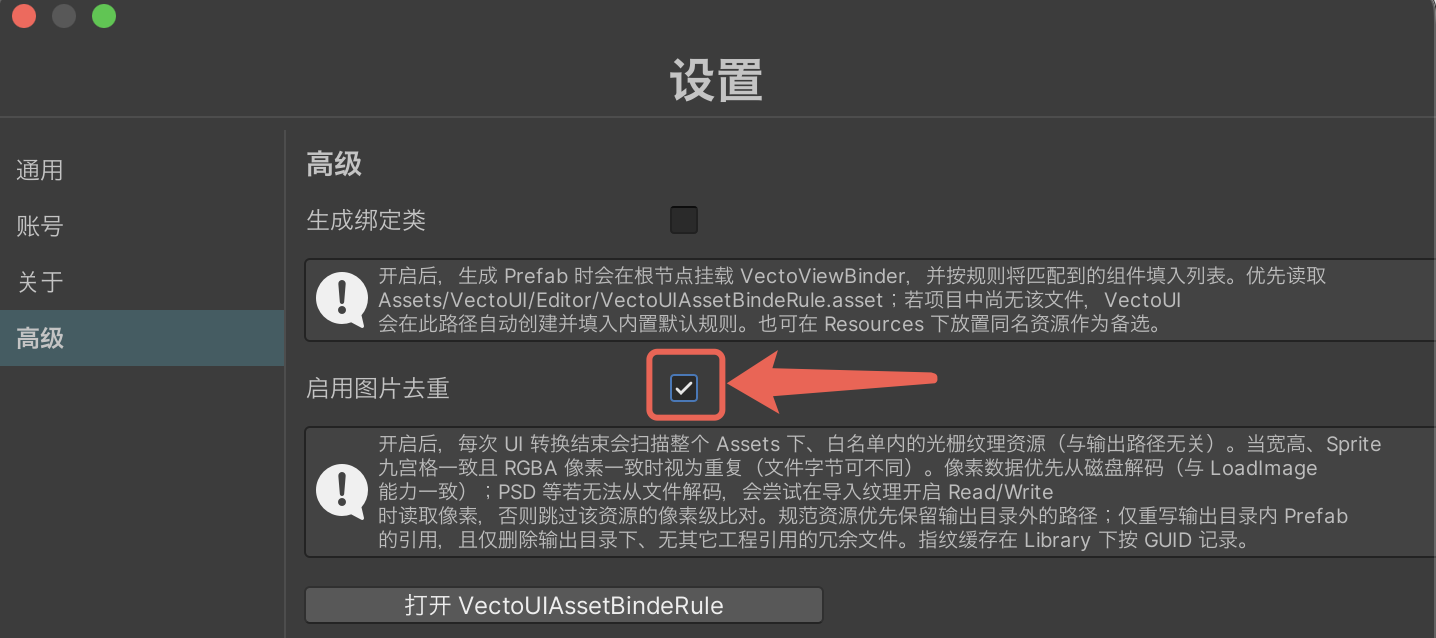
Public feedback quote
Designers no longer need to export separate slice packages. Once uploaded to Lanhu, we use it directly. The communication overhead between design and engineering dropped massively.
Evidence Sources
The original public before/after source reused on this page.
Open homepage comparisonUse the comparison page when the decision is still about whether automation is worth trial at all.
Open manual prefab comparisonUse the setup guide to see which steps sit behind the faster delivery path.
Open integration guideUse the advanced guide to see what still remains explicit engineering work after generation starts.
Open advanced usage guideNext Steps
Move here when you want one contained public integration case rather than a broader process contrast.
Lanhu to Unity integration caseThe workflow page is better when the current question is rollout order rather than proof alone.
Unity UI delivery workflowUse the guide when you still need a safer decision sequence before trial.
How to automate Unity UI deliveryOnly review plan scope after workflow fit and evidence are already clear.
PricingFAQ
Because a trustworthy before/after page has to show both what is reduced and what still needs human configuration. Otherwise it turns back into empty evaluation copy.
No. It is a public workflow-level signal from the homepage comparison and public testimonials, not a universal ROI guarantee for every team.
Start from the manual-prefab comparison page first, then come back through roadmap, docs, and cases once the decision is closer to a real validation path.